
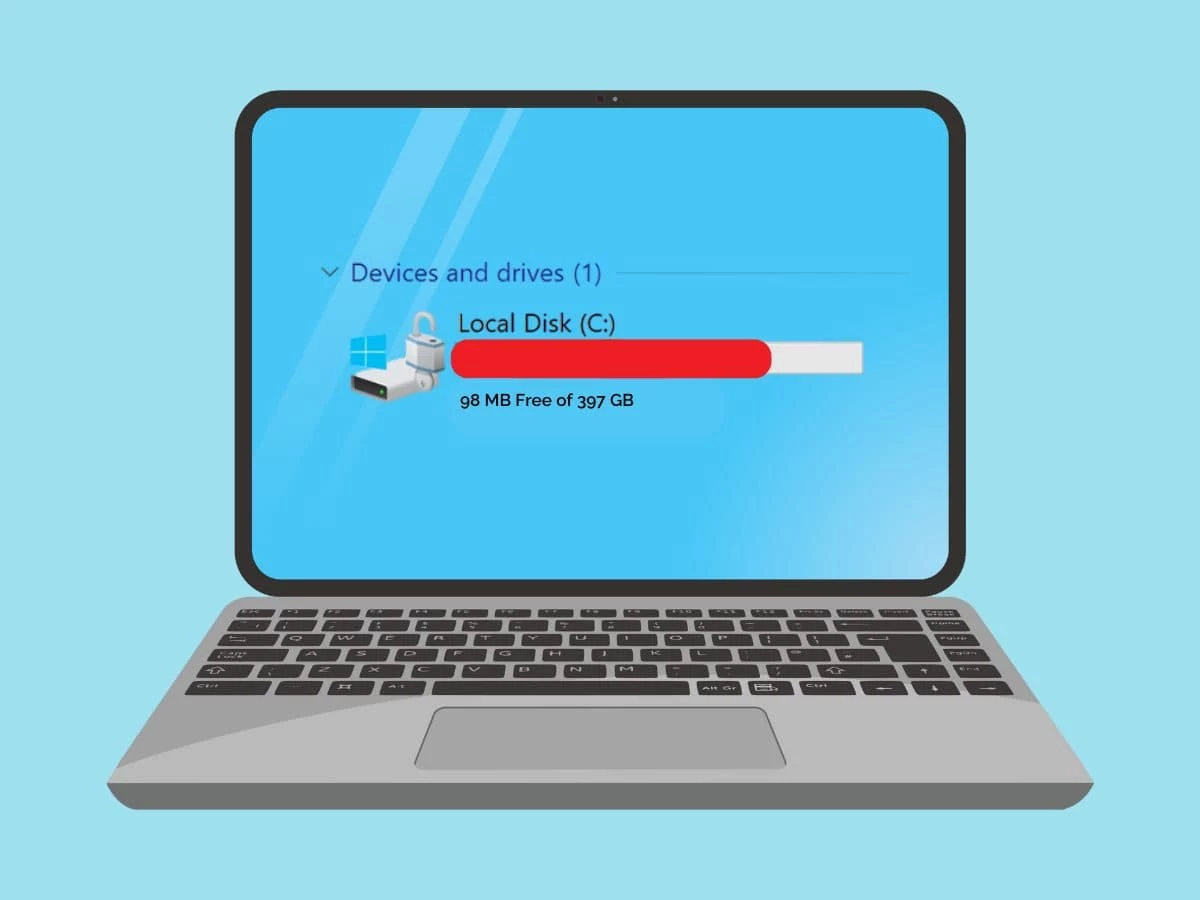
I nearly had a heart attack when I opened my C:\Windows folder and saw it. A folder I’d never touched was sitting at a staggering 15GB. On my compact laptop, where every gigabyte matters, that was a crisis.The folder was Software Distribution, and my first instinct was to right-click and hit “Delete.” and delete software distribution files But a voice in my head stopped me: “Messing with Windows system folders can break everything.”
So I did what any cautious user should do—I researched. And what I found surprised me. Delete Software Distribution files is not only safe when done correctly, it’s one of the most effective ways to fix Windows Update errors and reclaim precious storage space. In this guide, I’ll share exactly what this mysterious folder does, when you should (and shouldn’t) touch it, and the safe way to clear it out.
What Is the Software Distribution Folder? (And Why Does It Get So Big?)
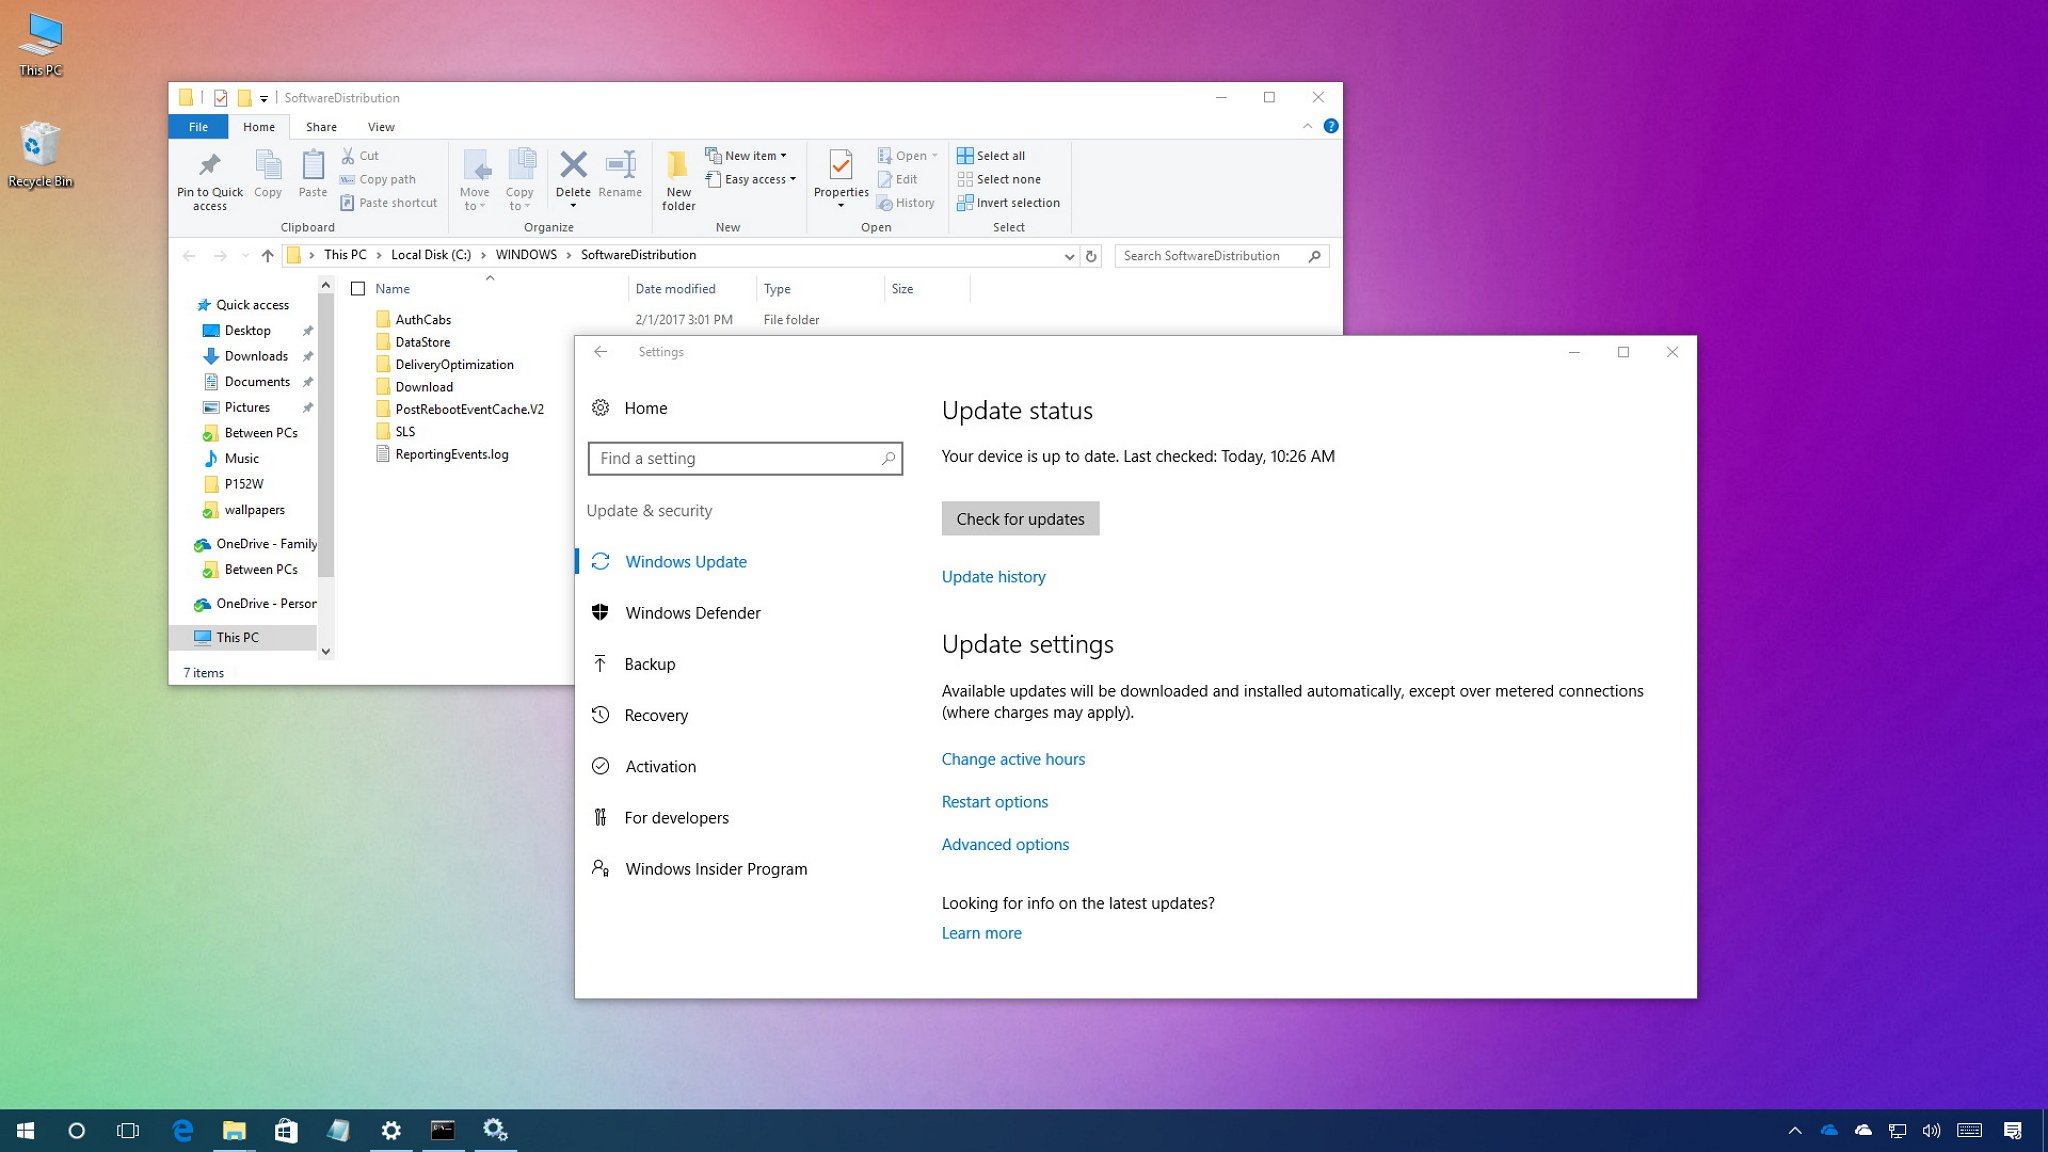
The Software Distribution folder lives at C:\Windows\Software Distribution, and it’s essentially Windows Update’s temporary workspace. Think of it like a construction staging area. When Windows checks for updates, it doesn’t install them directly. Instead, it downloads everything into this folder first—cumulative updates, security patches, driver updates, and even major feature upgrades like Windows 11 24H2.
Inside the folder, a few subfolders handle different jobs:
| Subfolder | What It Stores |
|---|---|
| Download | The actual update installer files (usually the biggest space hog) |
| DataStore | A local database tracking update history and status |
| DeliveryOptimization | Chunks of update data shared via peer-to-peer distribution |
Under normal circumstances, Windows cleans up after itself once updates are installed. But “normal” doesn’t always happen. Updates get interrupted. Downloads fail mid-process. Feature upgrades leave behind rollback files “just in case.” Before you know it, that 15GB folder has quietly become a 20GB+ monster.
What This Folder Does NOT Contain
Before you panic, know this: Software Distribution stores zero personal files. No documents, no photos, no application data. It’s purely a Windows Update cache. That means clearing it carries no risk of losing your important stuff. The worst that happens? You lose your update history log—and Windows will rebuild it automatically.
Why Would You Want to Delete Software Distribution Files?
In my case, the motivation was simple: I needed space. But there are actually two major reasons to clear this folder.
Free Up Gigabytes of Storage
This is the most common reason. If your C: drive is showing red in File Explorer, chances are Software Distribution is a major culprit. I’ve personally freed up over 20GB just by emptying this single folder. Users regularly report recovering 15–20GB of space, especially on systems that have gone through several feature upgrades without a proper cleanup.
Fix Windows Update Errors
This is the lesser-known but equally valuable use case. When Windows Update gets stuck, throws cryptic error codes, or falls into an endless “Checking for updates” loop, a corrupted Software Distribution folder is often the cause.
Here’s why: when downloads are interrupted or disk space runs low, the cached files or database entries in Software Distribution can become inconsistent. Windows Update keeps trying to reuse this bad data, leading to repeated failures even though the update itself is perfectly valid. Renaming or deleting the folder forces Windows to abandon the corrupted cache and rebuild it from scratch.
Safe Methods to Clear Software Distribution (Step-by-Step)
⚠️ IMPORTANT DISCLAIMER: Never delete the Software Distribution folder itself while Windows Update is running. That can cause conflicts. Always stop the update services first, then clear the folder’s contents, then restart the services.
Here are three safe methods, from beginner-friendly to advanced.
Method 1: The GUI Way (Recommended for Most Users)
This is the method I use when I just need to free up space quickly.
Step 1: Stop Windows Update Services
- Press
Win + R, typeservices.msc, and press Enter - Locate Windows Update, right-click it, and select Stop
- Locate Background Intelligent Transfer Service (BITS) and stop it as well
Step 2: Clear the Folder Contents
- Press
Win + R, typeC:\Windows\SoftwareDistribution, and press Enter - Select all files and folders inside (press
Ctrl + A) - Press
Deleteon your keyboard - ⚠️ Do NOT delete the Software Distribution folder itself—only its contents
Step 3: Restart the Services
- Go back to the Services window
- Right-click Windows Update and select Start
- Right-click BITS and select Start
Step 4: Restart Your PC and Check for Updates
That’s it. Windows will automatically rebuild the necessary files the next time it checks for updates.
Method 2: The PowerShell Way (For Power Users)
If you prefer the command line or need to clear the folder on multiple machines, PowerShell is faster.
- Right-click the Start button and select Windows Terminal (Admin) or PowerShell (Admin)
- Run these commands one by one:
powershell
Stop-Service wuauserv
Stop-Service bits
Remove-Item "C:\Windows\SoftwareDistribution\*" -Recurse -Force
Start-Service wuauserv
Start-Service bits
This does exactly the same thing as the GUI method, just more efficiently.
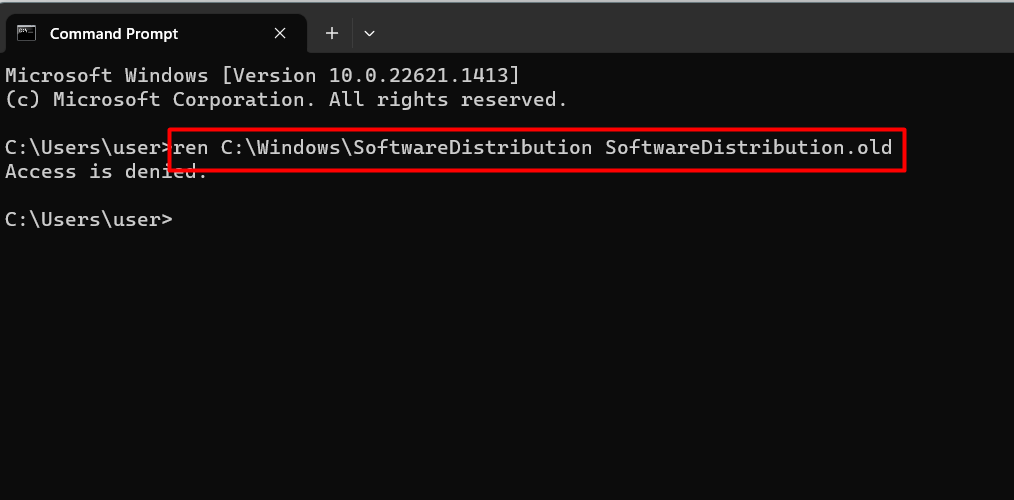
Method 3: Rename Instead of Delete (For Troubleshooting Stubborn Update Errors)
If you’re troubleshooting persistent Windows Update failures, renaming the folder is actually smarter than deleting it. It preserves the old folder as a backup while forcing Windows to create a fresh one.
- Open Command Prompt as Administrator
- Stop the services:
cmd
net stop wuauserv
net stop bits
net stop cryptsvc
- Rename the folders:
cmd
ren %systemroot%\SoftwareDistribution SoftwareDistribution.old
ren %systemroot%\System32\catroot2 catroot2.old
- Restart the services:
cmd
net start wuauserv
net start bits
net start cryptsvc
The catroot2 folder stores cryptographic signatures used to verify update authenticity. If you’re seeing digital signature errors, resetting both folders together often does the trick.
Common Mistakes to Avoid
Mistake 1: Deleting the Folder While Services Are Running
If you try to delete files while Windows Update is active, you’ll get “File in use” errors. Always stop the services first.
Mistake 2: Deleting the Wrong Folders
Never touch C:\Windows\WinSxS. Unlike Software Distribution, manually deleting files in WinSxS can render your Windows installation completely unable to boot or repair itself. This is not a safe cleanup folder.
Mistake 3: Expecting Windows to Clean Itself Automatically
While Windows should clean up old update files, it doesn’t always happen. Interrupted downloads, failed updates, and delayed feature upgrades can leave gigabytes of orphaned files behind. Manual cleanup is sometimes necessary.
What About Delivery Optimization? (The Other Space Hog)
If you’ve cleared Software Distribution and still have space issues, there’s another cache you should check: Delivery Optimization.
This is a peer-to-peer feature that speeds up Windows and Microsoft Store updates by letting your PC share update pieces with other devices on your network (or the internet). It creates its own cache at C:\ProgramData\Microsoft\Windows\DeliveryOptimization\Cache, and it can grow just as large as Software Distribution—sometimes even larger.
To clear it safely:
- Go to Settings > System > Storage > Temporary files
- Check the box for Delivery Optimization Files
- Click Remove files
You can also turn off the peer-to-peer sharing entirely if you don’t need it: Settings > Windows Update > Delivery Optimization > Advanced options and select “Off.”
When Should You NOT Delete Software Distribution Files?
Deleting Software Distribution files is safe 99% of the time, but there are two scenarios where you should hold off:
- During an active update installation – If Windows is in the middle of installing an update, interrupting the process by clearing the cache could cause issues. Always wait until updates are complete.
- If you need update rollback capability – The folder contains files that allow you to uninstall recently applied updates. If you clear it, you’ll lose the ability to roll back those specific updates. For most users, this isn’t a big deal, but it’s worth knowing.
Frequently Asked Questions
Will deleting Software Distribution break Windows?
No. The folder is automatically rebuilt by Windows when needed. Microsoft itself documents resetting this folder as a primary troubleshooting step for Windows Update failures.
Do I need to delete Catroot2 as well?
Only if you’re troubleshooting update errors related to digital signatures. For simple space recovery, Software Distribution alone is sufficient.
How often should I clean the Software Distribution folder?
I recommend checking it every few months, especially after major feature updates like the Windows 11 24H2 upgrade. If you notice your C: drive space dropping unexpectedly, make this your first stop.
What if I can’t delete some files?
Ensure the Windows Update and BITS services are fully stopped. If files remain locked, restart your computer in Safe Mode and try again.
Will Windows Update work normally after I clear the folder?
Yes. The next time Windows checks for updates, it will download whatever it needs and recreate the necessary folder structure. Your update history will be reset, but no actual updates are removed from your system.
Final Thoughts: Your PC Will Thank You
The Software Distribution folder is one of Windows’ best-kept secrets. It quietly does its job in the background, but when things go wrong—or when storage gets tight—it becomes a problem. The good news? The solution is simple, safe, and takes less than five minutes.
So go ahead. Delete those Software Distribution files. Your PC will rebuild what it needs, you’ll free up valuable space, and you might just fix that Windows Update error that’s been driving you crazy.
💬 Have you ever recovered a surprising amount of space from Software Distribution? Or are you dealing with a stubborn Windows Update error? Drop a comment below—I’d love to hear your experience!
Did this guide help you? Share it with a friend who’s always complaining about a full C: drive. And if you want more Windows optimization tips, check out our guide on clearing Windows temporary files safely.
Read More – Geekafterdark


Pingback: How to Clean Junk Files in Windows 10/11 2026 - Geek After Dark