You’re in the middle of an important video call when a software bug appears. You try to explain it, but your words fail. Or maybe you just beat your high score in a mobile game, and you want to share the glory. Wouldn’t it be amazing if you could simply hit a button and capture everything happening on your screen? Basically Screen Record on PC & Mobile.
Most people think screen recording requires expensive, complicated software. That’s a myth. The truth is, you already have powerful tools built into your devices. Whether you use Windows, macOS, iPhone, or Android, learning how to screen record on PC and mobile is easier than ordering a coffee.
In this guide, I’ll walk you through every built‑in method, share my favorite third‑party tools for advanced users, and give you pro tips to turn raw captures into polished videos. No fluff. Just practical, battle‑tested advice.
Why You Might Need to Screen Record (Beyond the Obvious)
Sure, gamers and software testers use screen recording all the time. But here are three less obvious scenarios where it becomes a superpower:
- Remote work clarity: A 30‑second video of a confusing UI is worth a dozen Slack messages.
- Creating how‑to guides for family: Record yourself resetting a password or navigating a website, then send the video. They’ll thank you.
- Reporting bugs to developers: A screen recording with your voiceover explains the issue better than any written report.
Once you master how to screen record on PC and mobile, you’ll wonder how you ever lived without it.
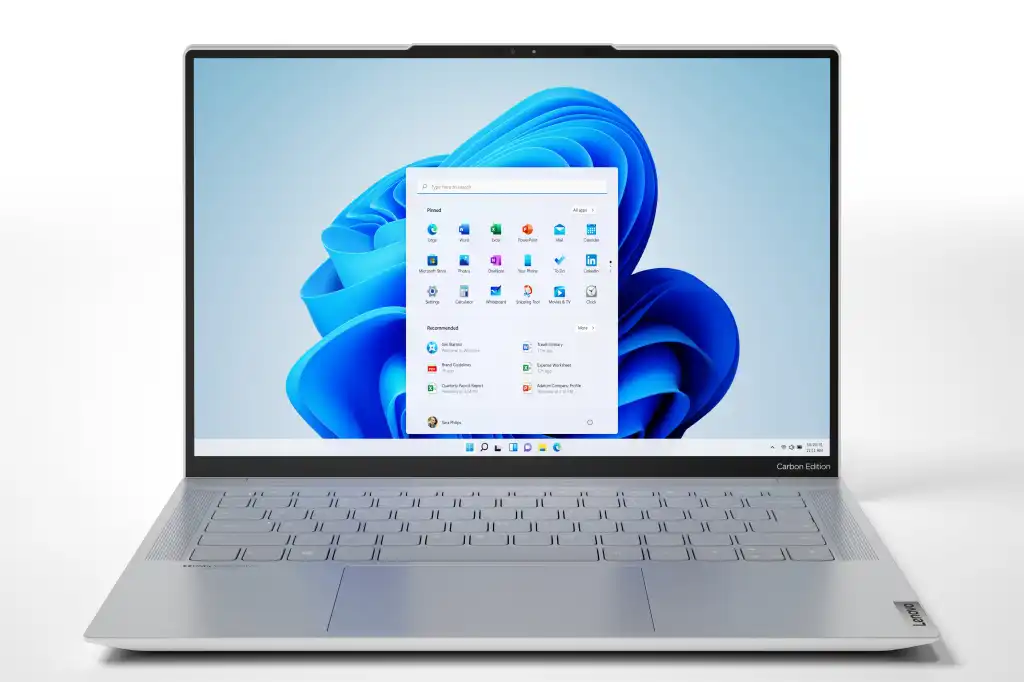
Screen Recording on a Windows PC: Two Built‑In Methods (And When to Use Each)
Microsoft has quietly turned Windows 11 into a screen‑recording powerhouse. You actually have two native tools, each suited for different tasks.
1. Xbox Game Bar – Best for Apps, Games, and Browsers
The Xbox Game Bar was built for gamers, but it works beautifully for recording any single window – whether it’s Chrome, Zoom, or Photoshop.
How to use it:
- Press
Windows + Gto open the overlay. - Click the Record button (circle icon) in the Capture widget.
- Or use the keyboard shortcut
Windows + Alt + Rto start/stop instantly. - Your video saves automatically to
Videos > Capturesas an MP4 file.
Unique insight: The Xbox Game Bar cannot record your desktop background or File Explorer. If the record button is grayed out, that’s why. Use it only for open apps or windows.
Personal experience: I once recorded a 45‑minute tutorial using Xbox Game Bar, and the file size was only 280MB – much smaller than OBS would have produced. The tradeoff? Fewer editing controls. But for quick captures, it’s perfect.
2. The Snipping Tool – Best for Recording a Specific Area
Microsoft recently added a video recording feature to the classic Snipping Tool. It’s ideal when you only need to capture a small part of your screen – like a dropdown menu or an error message.
How to use it:
- Open Snipping Tool from the Start menu.
- Click the video camera icon (next to the scissors).
- Click New, then drag a rectangle around the area you want.
- Hit Start, then Stop when finished.
The resulting video is clean, cropped, and ready to share. No extra editing needed.
Comparison table: Windows built‑in screen recorders
| Feature | Xbox Game Bar | Snipping Tool |
|---|---|---|
| Record entire screen | ✅ (app only) | ❌ (area only) |
| Record a selected area | ❌ | ✅ |
| Microphone voiceover | ✅ | ❌ |
| System audio recording | ✅ | ❌ |
| Best for | Games, apps, tutorials | Bug reports, small clips |
Screen Recording on a Mac: The Apple Way
Apple has integrated screen recording deeply into macOS. You don’t need to install anything. There are two primary methods, and they work on Intel and Apple Silicon Macs alike.
The Screenshot Toolbar (Easiest for Most People)
Since macOS Mojave (2018), Apple includes a dedicated Screenshot toolbar that handles video.
How to use it:
- Press
Shift + Command + 5. - A small control bar appears at the bottom of your screen.
- Choose Record Entire Screen or Record Selected Portion.
- Click Options to choose a save location, set a timer, or select a microphone for voiceover.
- Click Record. To stop, click the stop icon in the menu bar (or press
Command + Control + Esc).
Pro tip: Hold down the
Optionkey while clicking Options to reveal hidden settings like “Show Mouse Clicks” – incredibly useful for tutorials.
QuickTime Player – For Recording Your iPhone or iPad Screen
QuickTime Player has one unique superpower: it can capture your iOS device’s screen when connected via a cable.
How to use it:
- Connect your iPhone or iPad to your Mac with a USB cable.
- Open QuickTime Player, go to
File > New Screen Recording. - Click the small arrow next to the record button, and select your iPhone as the camera input.
- Click the red record button.
This method records your mobile screen in high quality, with audio, and saves directly to your Mac. It’s the best way to create app demos or mobile game walkthroughs.
How to Screen Record on Mobile (iPhone and Android)
Let’s be honest: most of us spend more time on our phones than our computers. So knowing how to screen record on PC and mobile means mastering your pocket device too.
iPhone (iOS 11 and later – including iOS 18)

Apple added native screen recording in iOS 11, but it’s hidden by default. Here’s how to enable and use it.
Step‑by‑step:
- Go to Settings > Control Center.
- Scroll down to More Controls and tap the green + next to Screen Recording.
- Swipe down from the top‑right corner to open Control Center.
- Tap the gray Record button (a circle inside a circle). A 3‑second countdown appears.
- To stop, tap the red status bar at the top of your screen, then tap Stop.
Voiceover trick: Long‑press the record button in Control Center. A menu pops up where you can turn your microphone on (to record your voice along with the screen) and even adjust video quality.
All recordings save directly to the Photos app. They’re ready to share, edit, or upload.
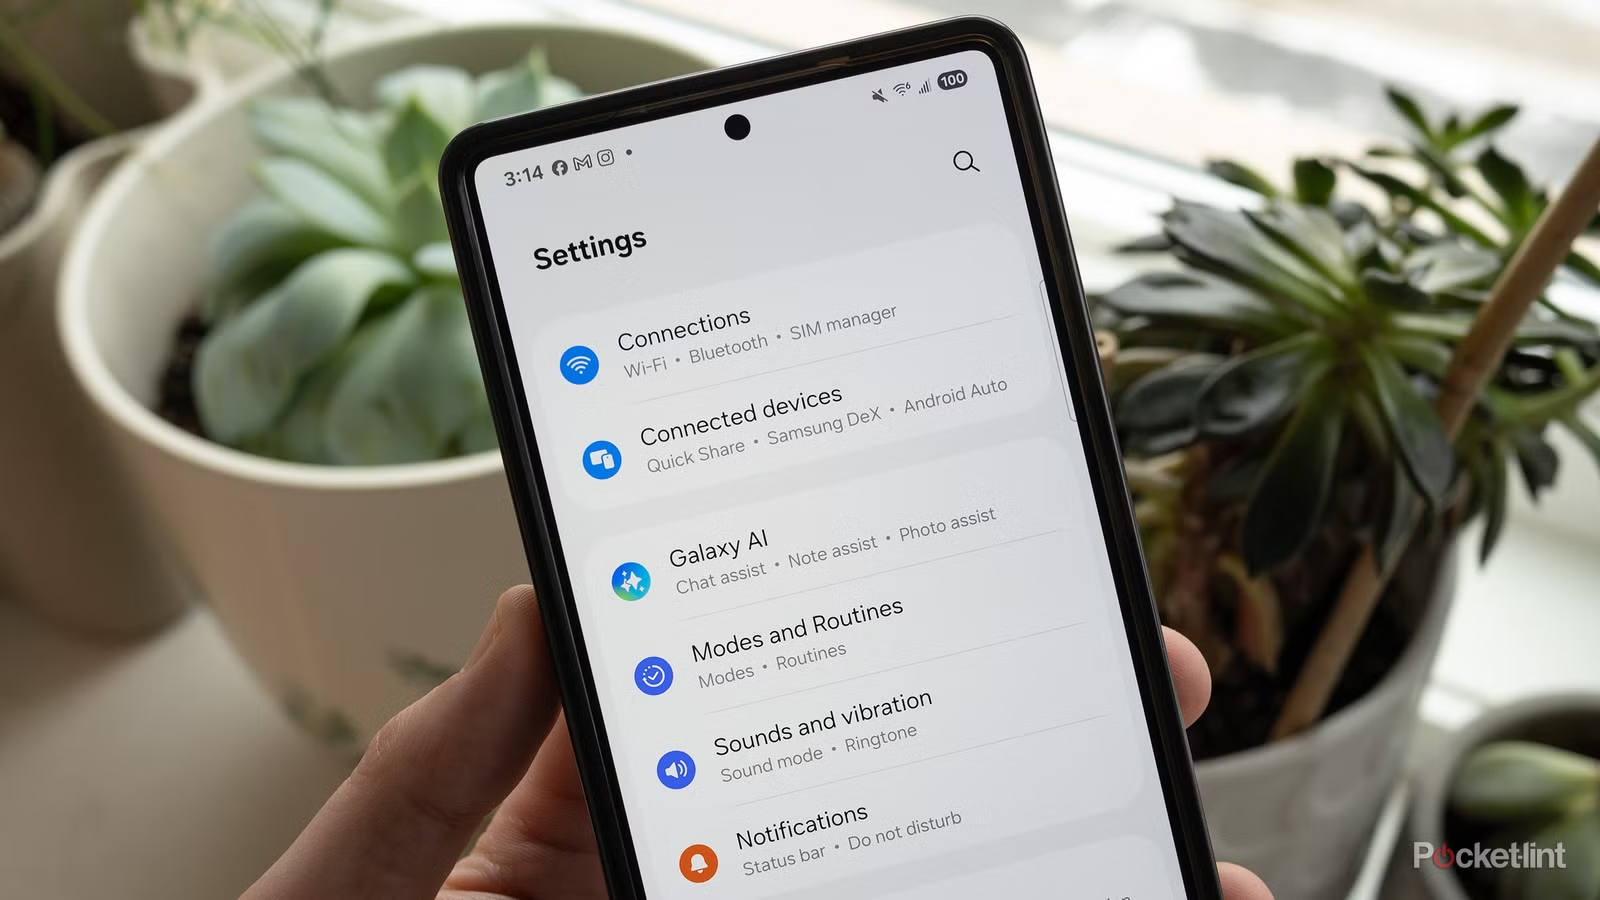
Android (Android 11 and newer – including Android 14)

Google finally made screen recording a standard feature in Android 11. On Samsung, Pixel, OnePlus, and most other modern Android phones, it works nearly identically.
How to use it:
- Swipe down twice from the top of your screen to open the full Quick Settings panel.
- Look for the Screen Record tile (usually a camera icon with a dot). If you don’t see it, tap the pencil/edit icon to add it.
- Tap the tile. You’ll get a pop‑up asking if you want to record audio (media sounds, microphone, or both).
- Tap Start. A countdown begins. To stop, swipe down and tap the recording notification.
Note on older Android versions: If your phone runs Android 10 or earlier, you may need a third‑party app like AZ Screen Recorder (more on that below).
Comparison table: Mobile built‑in screen recording
| Feature | iPhone (iOS 18) | Android (11+) |
|---|---|---|
| Built‑in without app | ✅ | ✅ |
| Record microphone | ✅ (long‑press) | ✅ (pop‑up menu) |
| Record system audio | ✅ | ✅ (varies by phone) |
| Maximum length | Unlimited (storage) | Unlimited (storage) |
| Output format | HEVC/MP4 | MP4 |
When Built‑In Tools Aren’t Enough: Third‑Party Software
Sometimes you need more than basic recording. Maybe you want to:
- Record your webcam alongside your screen.
- Add overlays, text, or transitions.
- Livestream directly to YouTube or Twitch.
- Capture internal and external audio separately.
That’s where dedicated software shines. Here are my top recommendations.
For PC and Mac: OBS Studio (Free, Powerful, Steep Learning Curve)
OBS Studio is the gold standard for open‑source screen recording and streaming. It’s used by professional esports casters and YouTubers. Best of all, it’s completely free.
Why OBS stands out:
- Unlimited scenes and sources (you can layer webcam, game capture, browser windows, etc.)
- Granular audio control (separate tracks for mic, desktop, and alerts)
- High‑performance encoding using NVENC (NVIDIA) or AMF (AMD)
Drawback: The interface is intimidating at first. Expect to spend an hour watching tutorials. But once you set up your first scene, you’ll never go back.
Download – https://obsproject.com/download
For Quick, Polished Videos: Loom (Best for Business)
Loom is a browser‑based and desktop app that focuses on simplicity. You click a button, select a tab or window, and start recording. It automatically uploads to the cloud and gives you a shareable link.
Why people love Loom: It’s perfect for remote teams. You can record your face (small circle overlay), your screen, and your voice – then send a link that works on any device.
Pricing: Free tier (up to 25 videos, 5 minutes each). Paid plans start at $12.50/month for unlimited.
For Mobile: AZ Screen Recorder (Android) and TechSmith Capture (iOS)
If your Android phone is older than Android 11, AZ Screen Recorder is the most trusted third‑party option. It’s free, ad‑supported, and offers features like facecam overlay and video trimming.
On iOS, TechSmith Capture (from the makers of Camtasia) lets you record your iPhone screen and then wirelessly transfer the video to your computer for editing. It’s free and incredibly clean.
Pro Tips to Make Your Screen Recordings Stand Out
Most screen recordings are boring. Don’t let yours be. These small adjustments will dramatically improve your quality.
1. Clean up your desktop and notifications
Nothing ruins a professional tutorial like a pop‑up from Discord or a cluttered desktop. Close unnecessary apps, enable Do Not Disturb, and hide your bookmarks bar in your browser.
2. Use a grid overlay for mobile recordings
When recording on a phone, it’s tempting to move your finger wildly. Instead, enable grid lines in your phone’s accessibility settings. This helps you keep taps and swipes consistent.
3. Record your voice separately (if you can)
Built‑in tools often record microphone and system audio on the same track. That means you can’t lower background music without lowering your voice. Use OBS or a separate voice recorder (like Audacity) to record audio on a second track, then sync in editing.
4. Add mouse click effects
On Windows, you can enable Mouse Pointer Highlight in the “Mouse” settings (under Control Panel > Mouse > Pointer Options). On Mac, use Mouseposé or the built‑in “Show mouse clicks” in QuickTime’s options.
A subtle visual cue when you click makes a huge difference for viewers.
Frequently Asked Questions (From Real Users)
Q: Can I screen record on PC and mobile without installing anything?
A: Yes. Windows, Mac, iPhone, and modern Android all include native screen recorders. See the sections above for exact steps.
Q: Why is my screen recording black on iPhone?
A: Some apps (like Netflix, Prime Video, and banking apps) block screen recording for copyright or security reasons. That’s normal and cannot be bypassed.
Q: How long can a screen recording be?
A: On built‑in tools, there’s no artificial limit – only storage space. On a 128GB iPhone, you can record for hours. Third‑party free tools may impose time limits (e.g., Loom’s 5‑minute limit on free tier).
Q: Which format is best for sharing?
A: MP4 (H.264 codec) is universally compatible. All built‑in tools use this format. If you have the option, avoid MOV or AVI for general sharing.
Conclusion: You’re Ready to Record
Screen recording used to be a niche skill for tech support and gamers. Now it’s as essential as knowing how to take a screenshot. Whether you need to capture a bug, create a tutorial, or save a fleeting moment in a game, the ability to screen record on PC and mobile is already in your hands.
Start with your device’s built‑in tool. Master that. Then, if you need more power, explore OBS Studio or Loom. The most important step is simply to try it today – record a short clip of anything, watch it back, and see how easy it is.
Your Turn
Have you ever used screen recording to solve a problem at work or home? What’s your favorite tool – built‑in or third‑party? Drop a comment below and share your experience. And if you found this guide helpful, consider subscribing to our newsletter for more practical tech deep dives (no spam, just actionable advice).
Read More – Geekafterdark